Admin
Admin menu allows you to manage your Clinician Portal account and its users. The options available in the Admin menu depends on the type of account that you are using:
Individual
For Individual accounts, the only available option in the Admin menu is Settings.
Settings
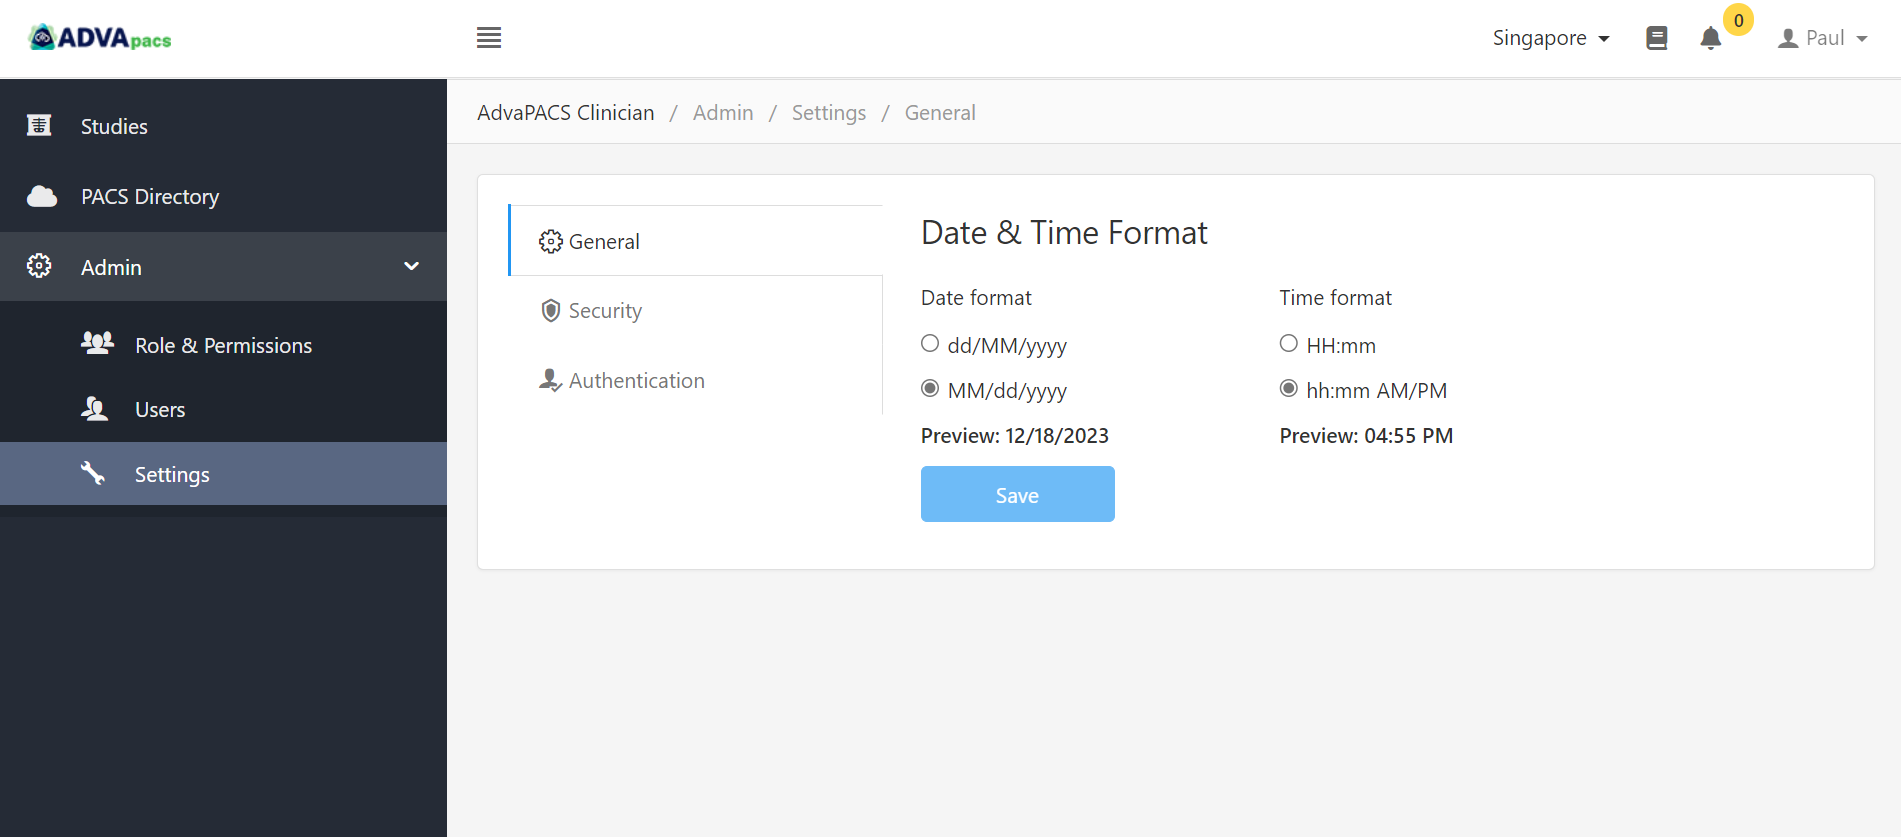
General
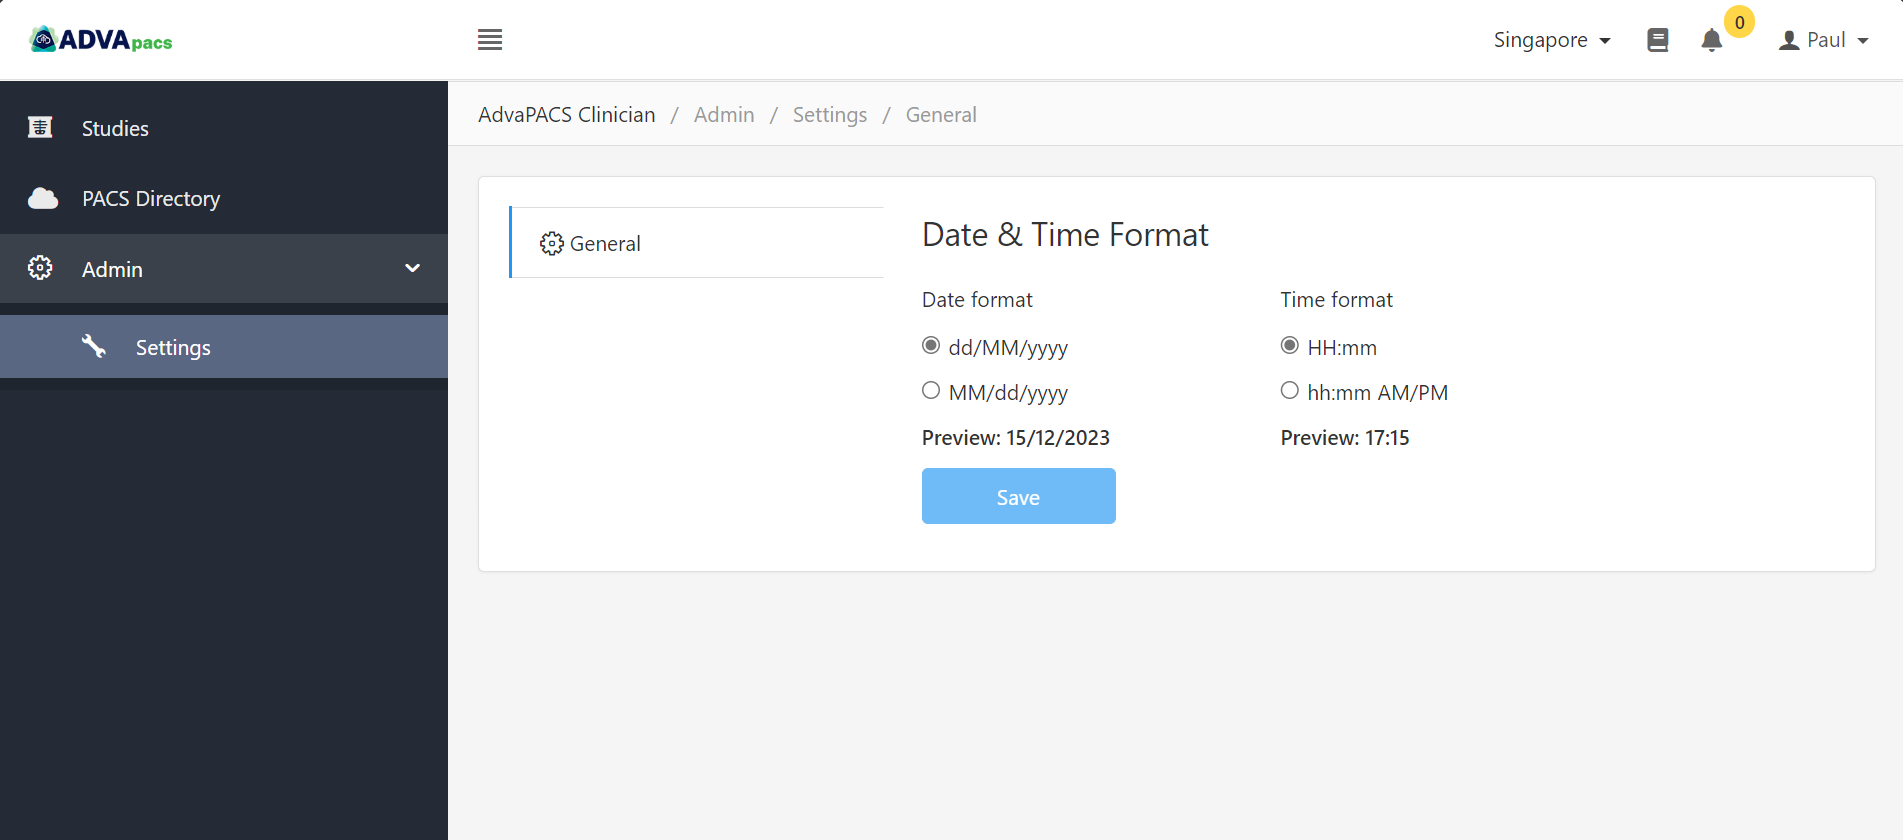
In the General settings, you can modify how the date and time is formatted in studies listed in the Studies page.
Organisations
For Organisation accounts, the Admin menu has the following configuration options:
These settings are always available for the Account Owner, however, their availability for a Regular User depends on the permissions granted to them.
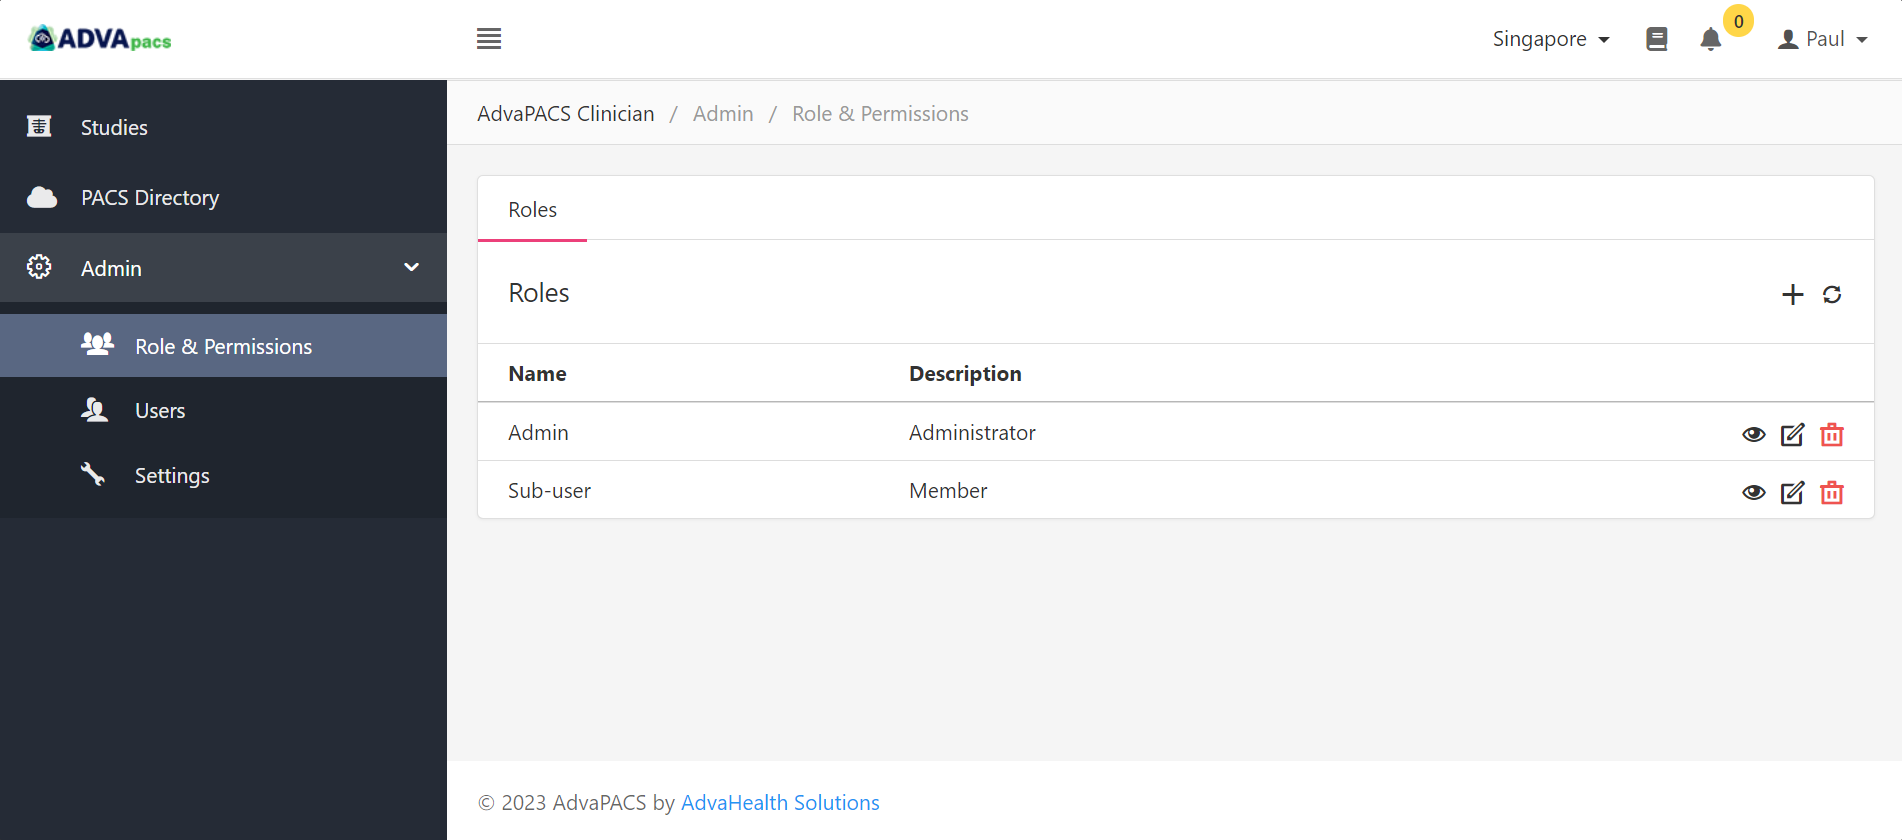
Roles and Permissions
Roles enable you to manage your users' access to various features within the Clinician Portal. Each role comes with a set of permissions that can be customized to control user ccess within the portal. Once a role is configured, you can assign it to a user, which applies its permissions for that user.
The Roles & Permissions page allow you to create and modify roles.
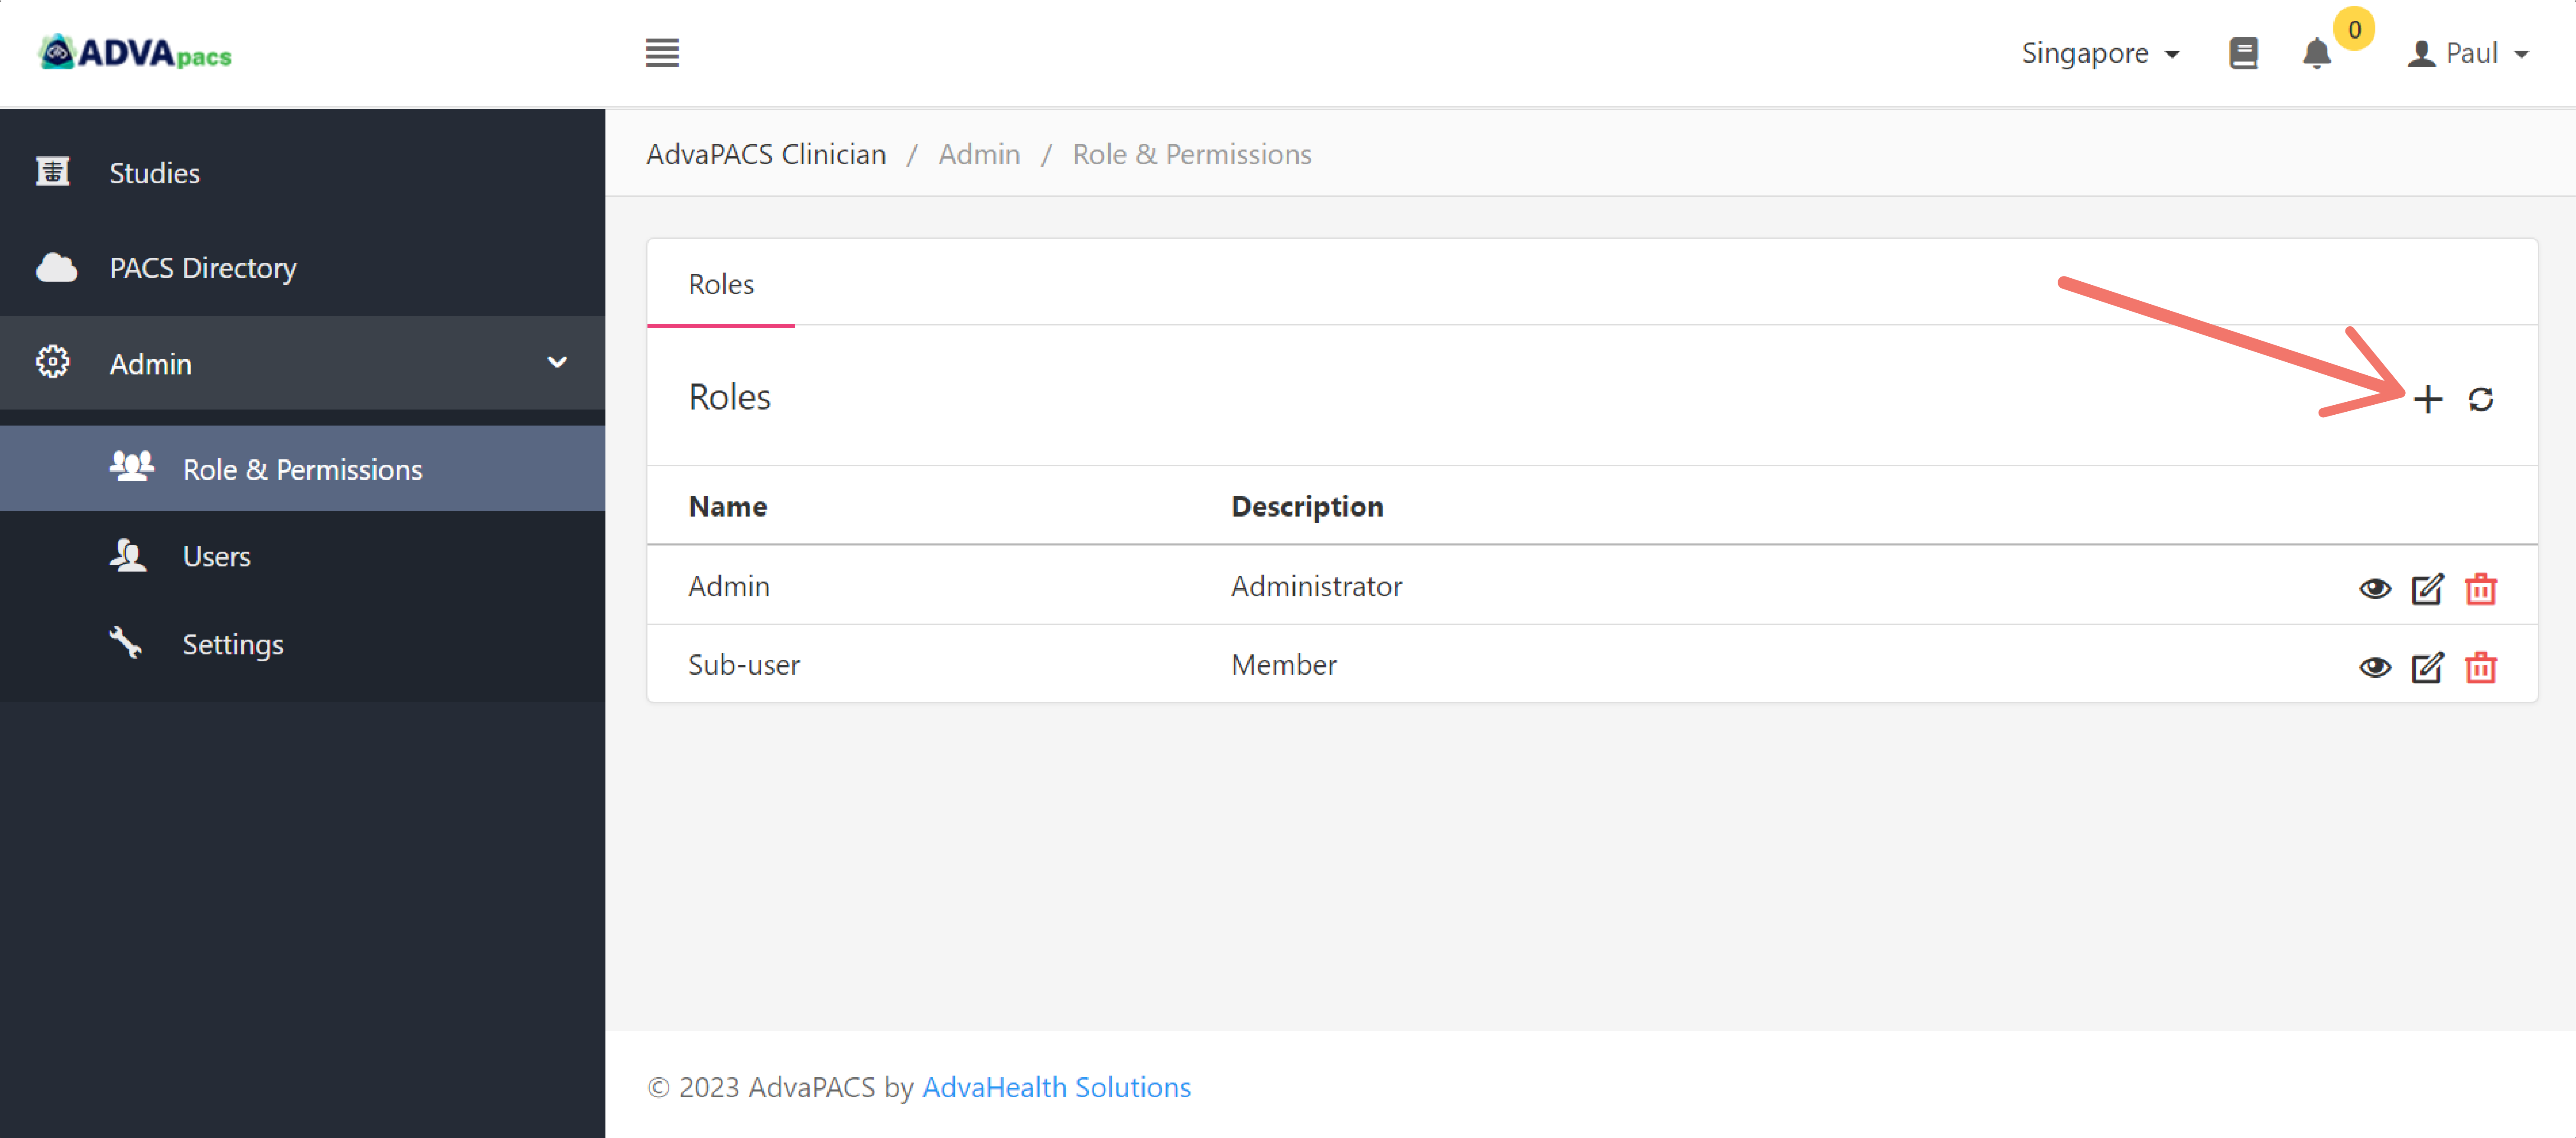
Creating a Role
In the Roles & Permissions page, click on the "plus" icon to create a new role.
Enter a Name and a Description for the role and set its Permissions by ticking the checkbox beside each permission.
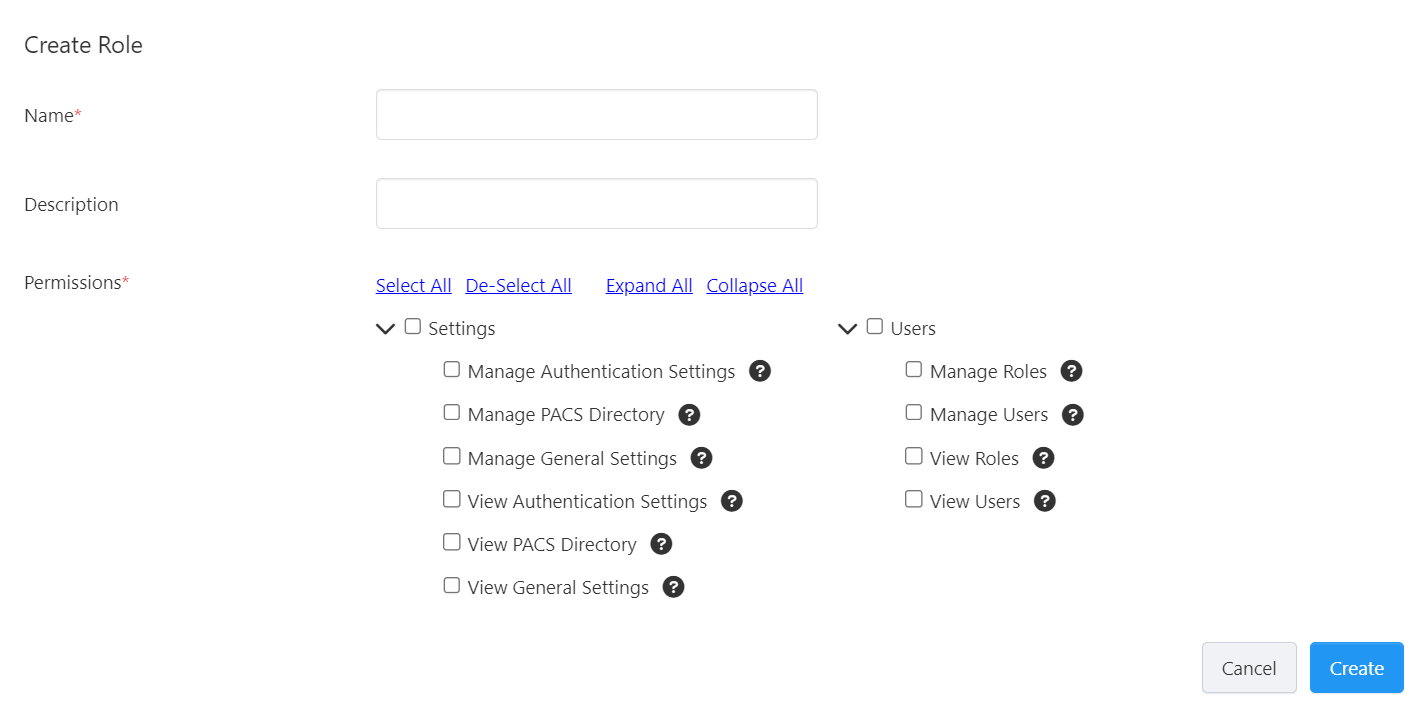
Click Create to create the role.
Once a role is created, you can now assign it to a user.
Permissions
Permissions allow you to control what features users can access in the Clinician Portal.
The permissions are grouped into two categories:
Settings
This set of permissions controls a user's access to administrative and security settings.
- Manage Authentication Settings - allows a user to manage Security and Authentication settings
- Manage PACS Directory - allows a user to request access to AdvaPACS tenants in the PACS Directory
- Manage General Settings - allows a user to manage General settings
- View Authentication Settings - allows a user to view Security and Authentication settings
- View PACS Directory - allows a user to view the PACS Directory
- View General Settings - allows a user to view General settings
Users
This set of permissions control a user's access to user management settings.
- Manage Roles - allows a user to create and modify roles in Roles & Permissions
- Manage Users - allows a user to create and modify Users
- View Roles - allows a user to view Roles & Permissions
- View Users - allows a user to view Users
Assigning a Role
A user account without an assigned role is unusable. Roles define a user's level of access within the Clinician Portal, so a role needs to be assigned to a user account.
If you have not created a user yet, follow the steps in Creating a User to create one.
Follow these steps to assign a role to a user:
Navigate to the Users page.
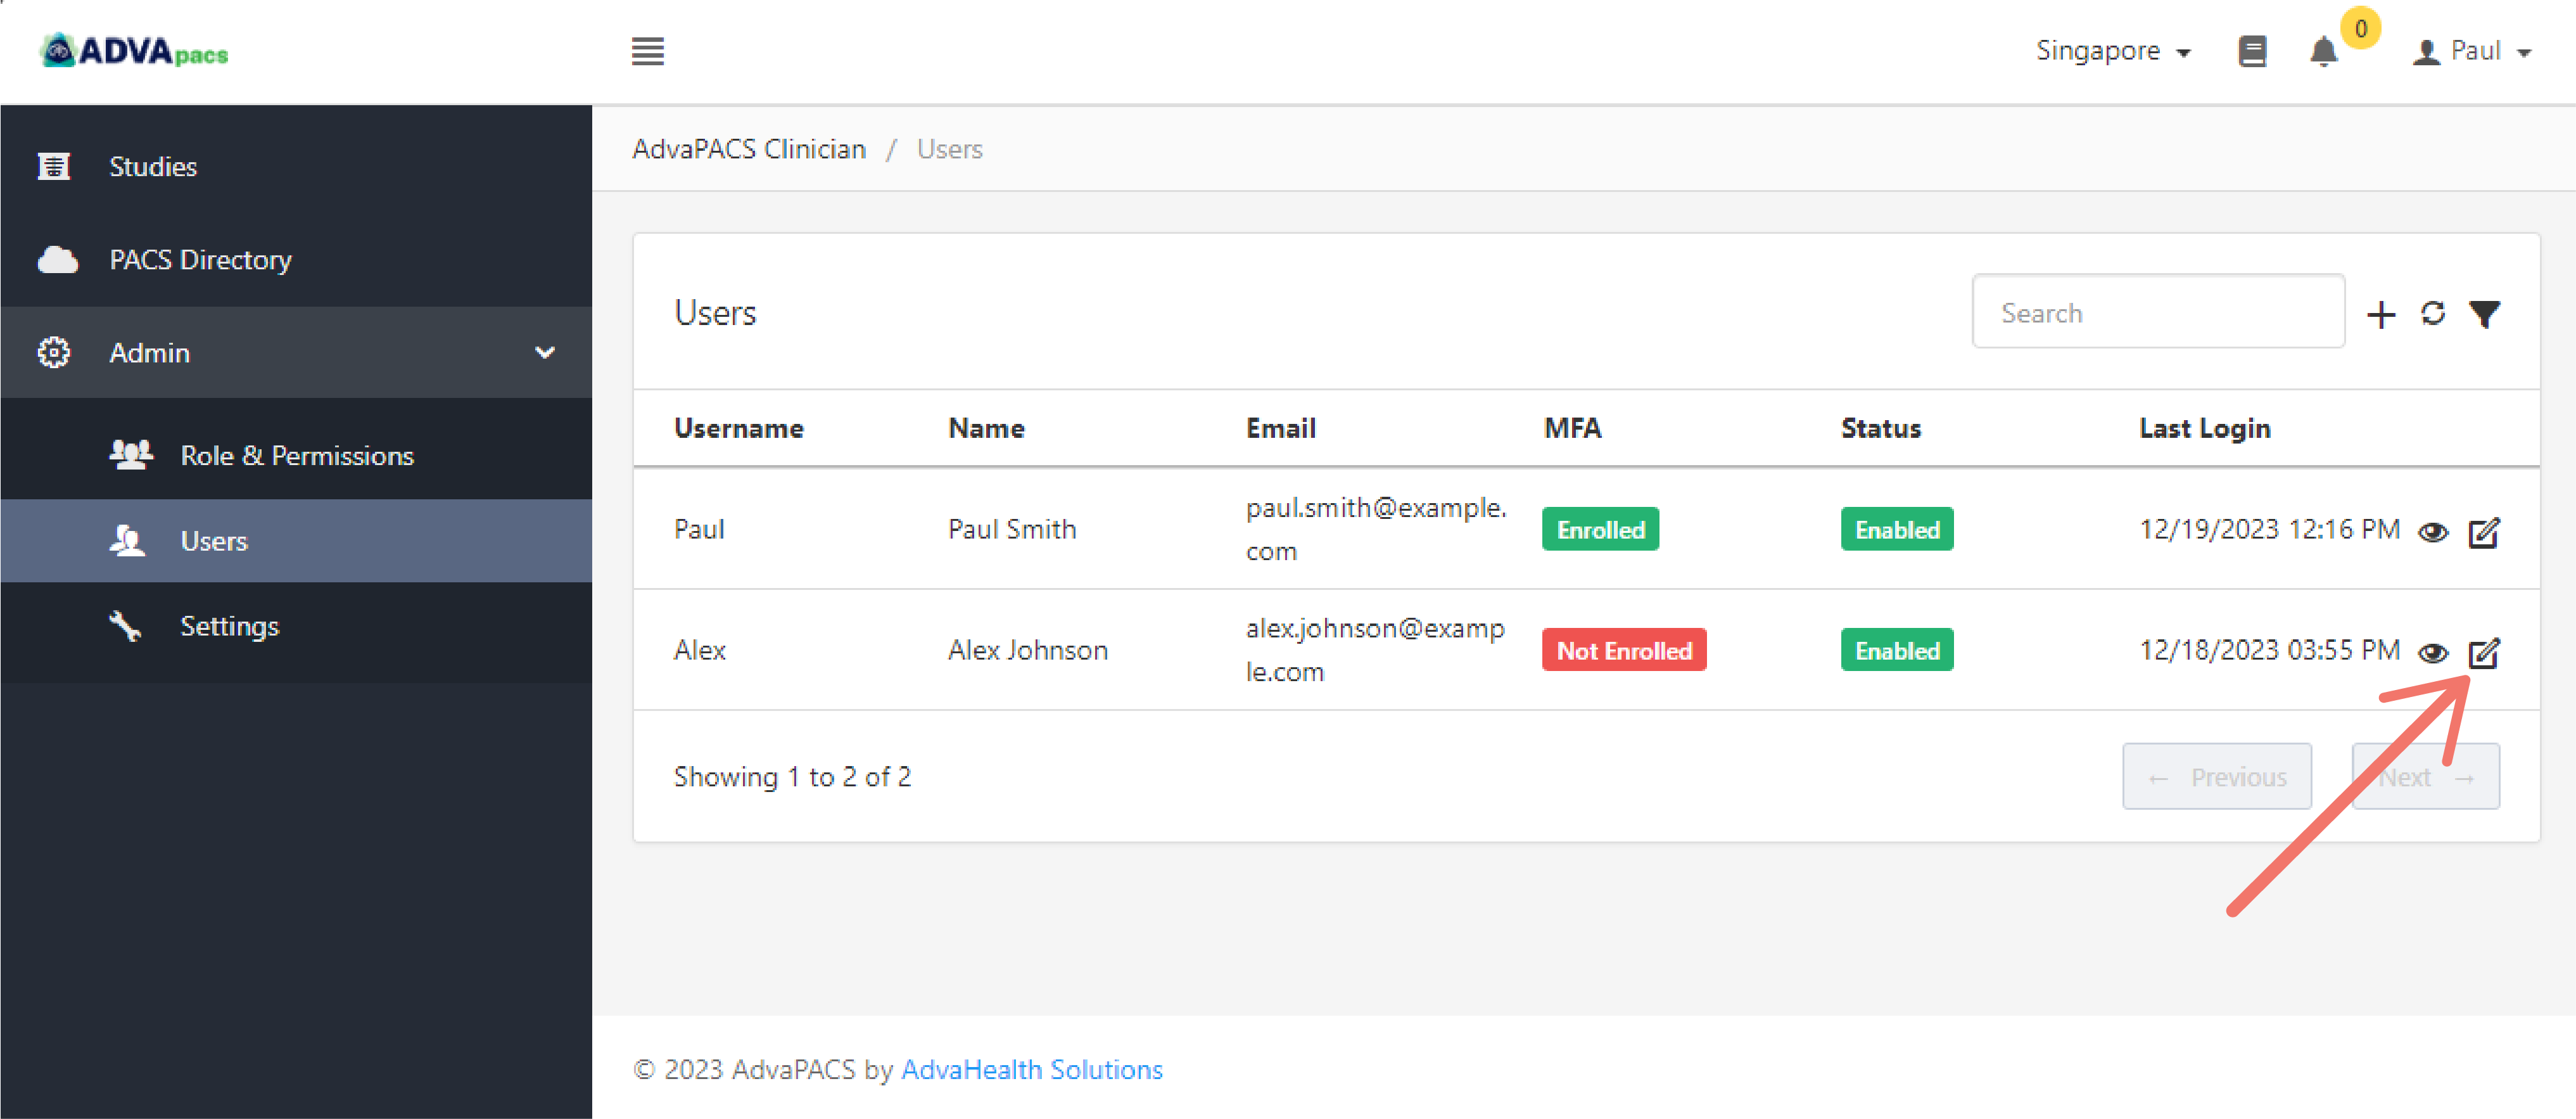
Click the "edit" button on the user to whom you want to assign a role.
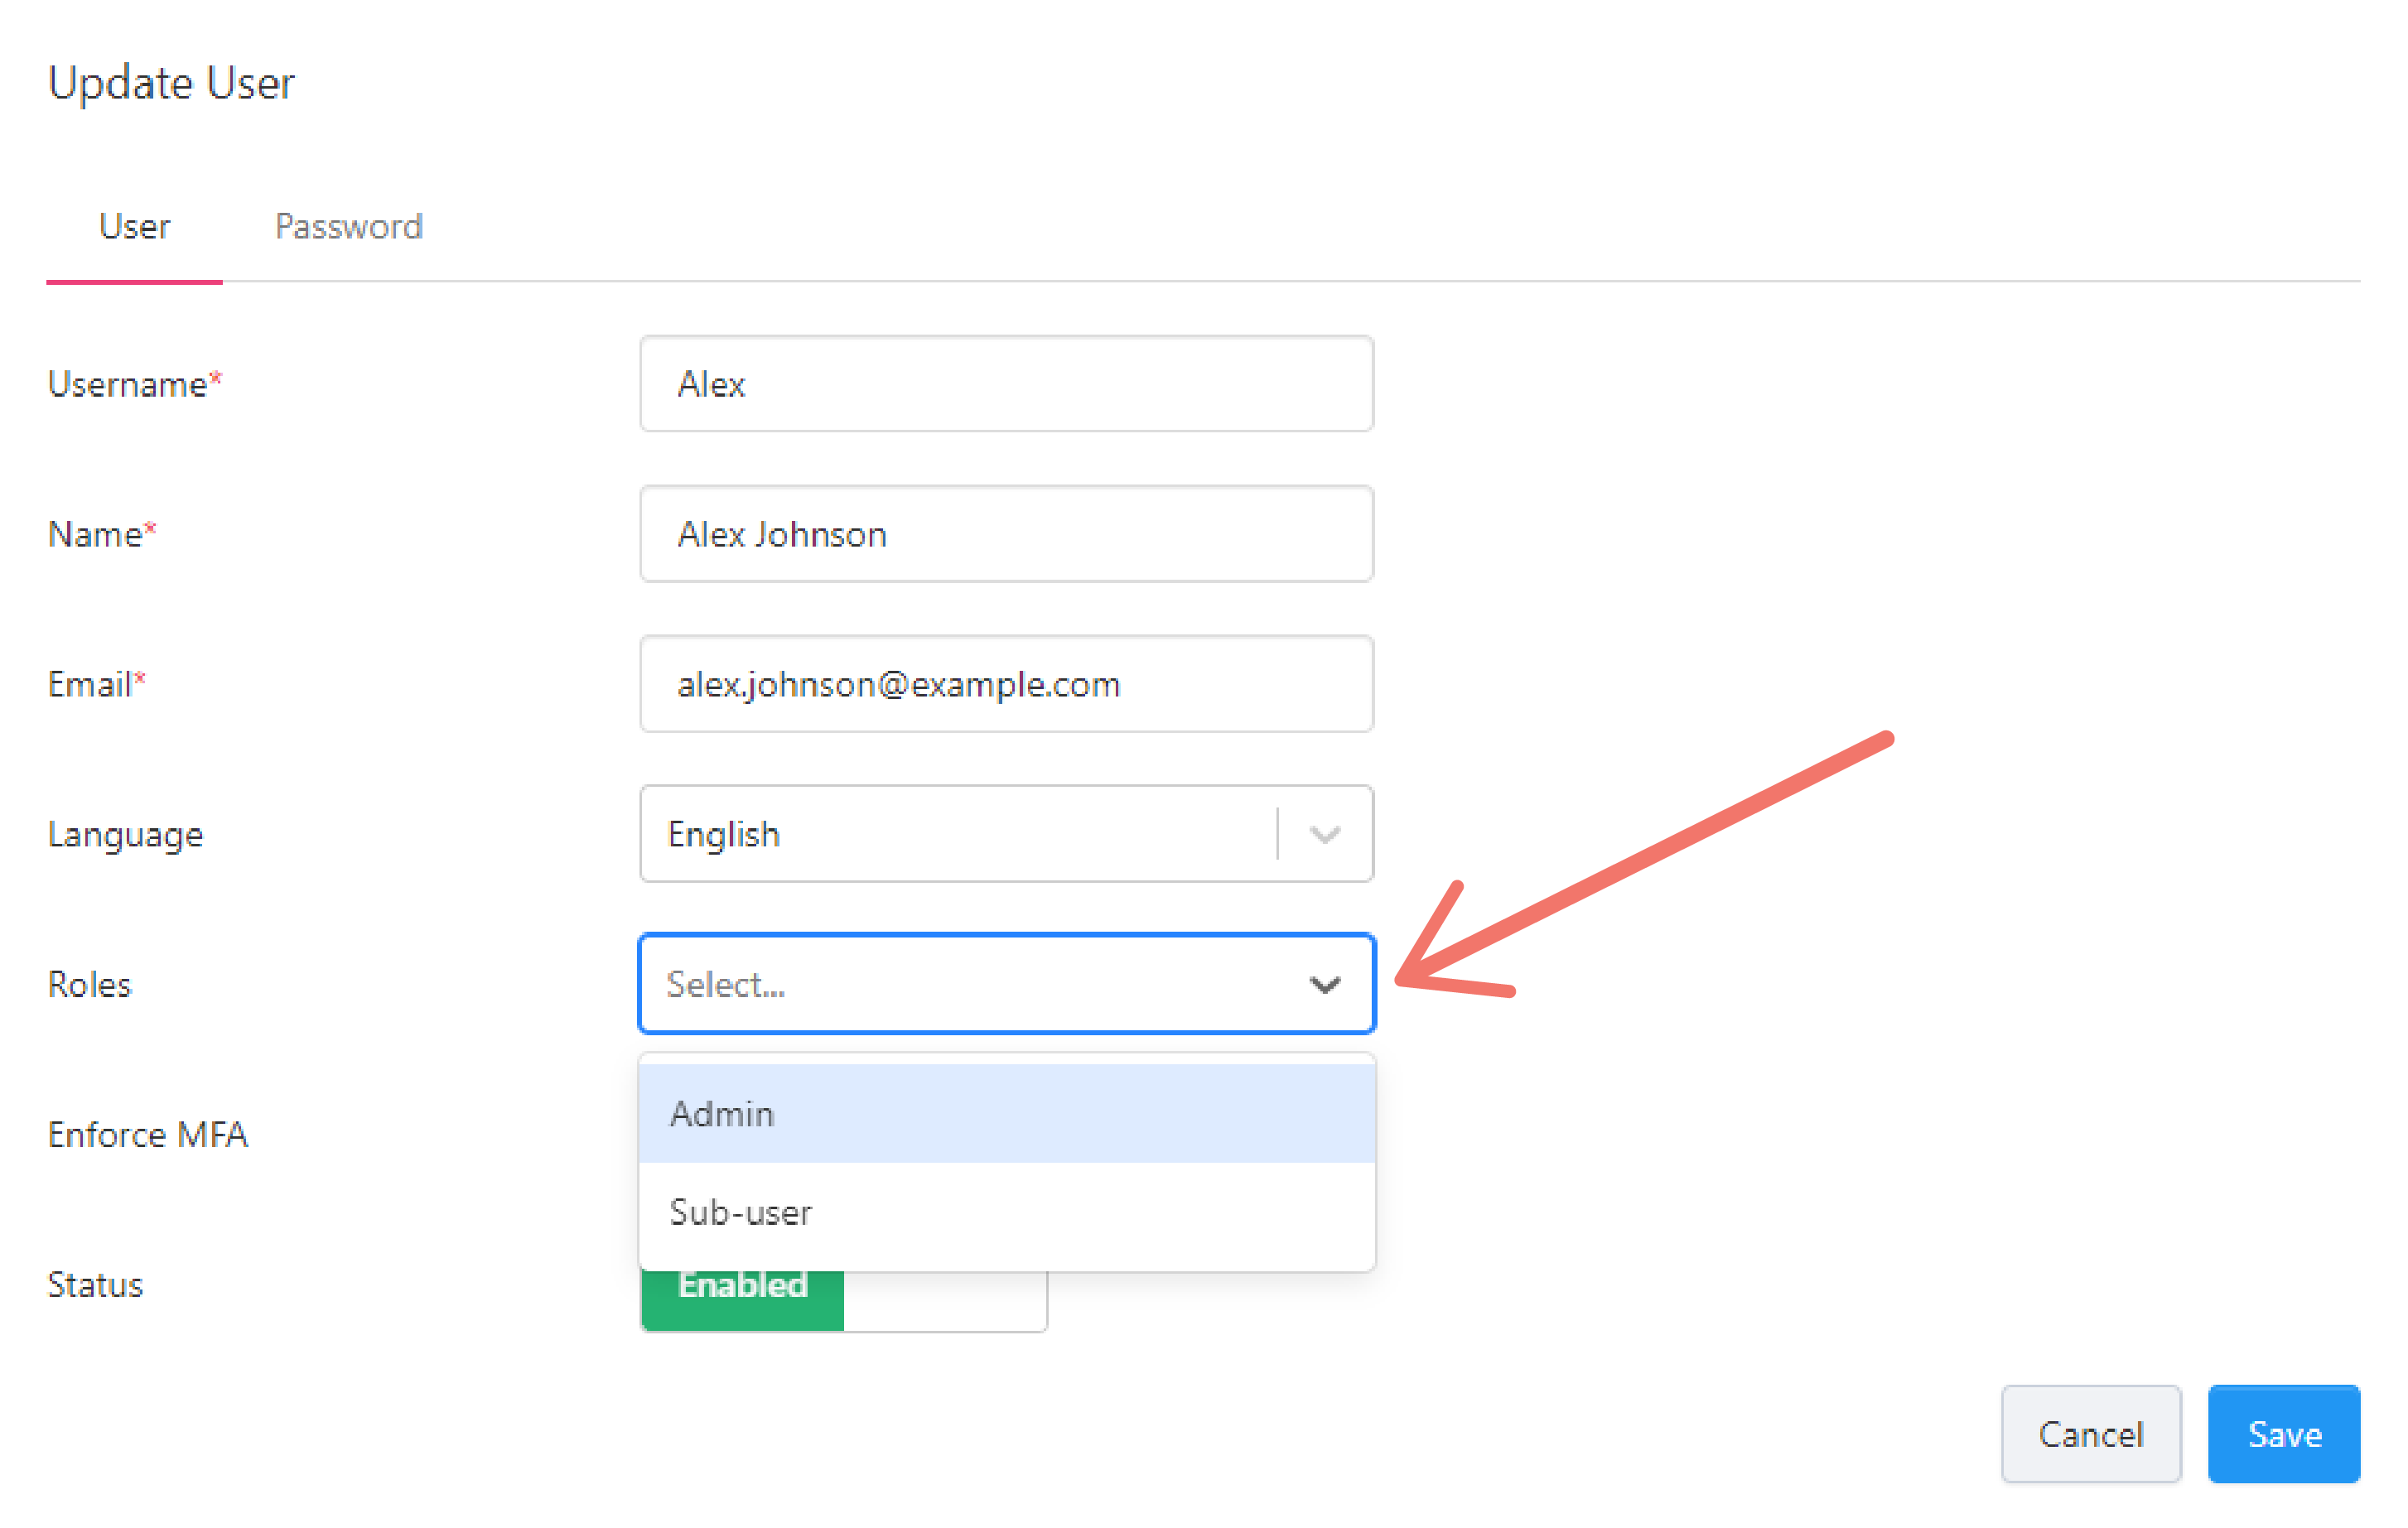
Click on the Roles dropdown menu, select a role, and click Save.
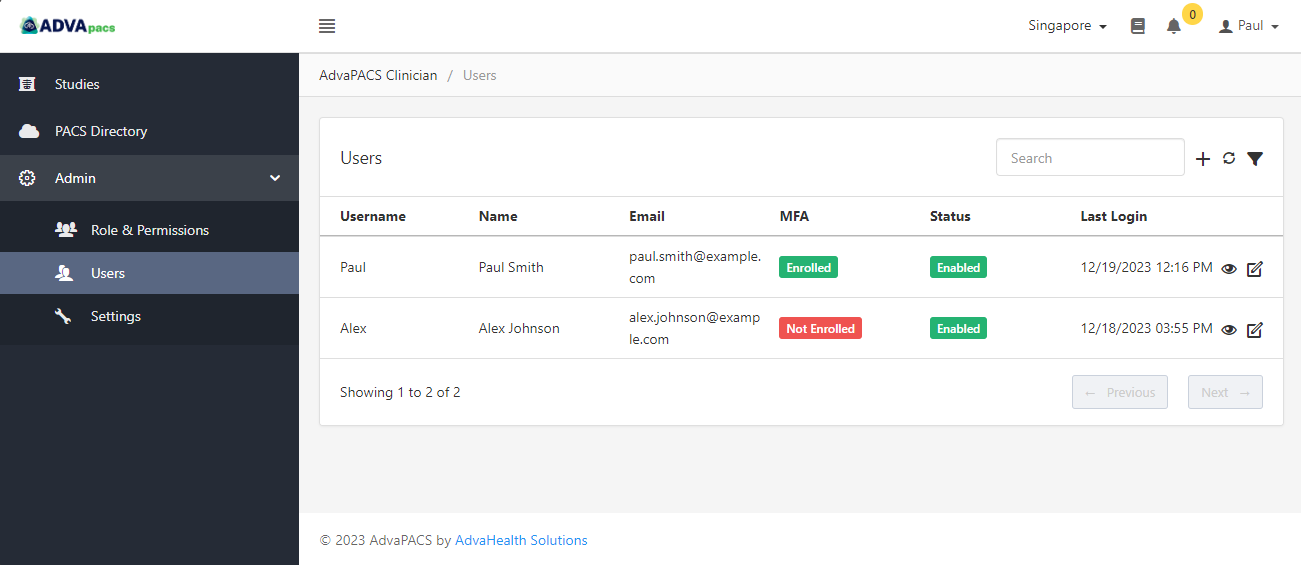
Users
The Users page allows you to create and manage users.
Compared to the conventional registration process, new users cannot create their own accounts. Instead, only existing users with the necessary permissions can create new user accounts.
They can then provide the login credentials to the new user to allow them to access the system. After the user's initial login, they can update their password, as needed or if Force password change on next login is enabled for the user.
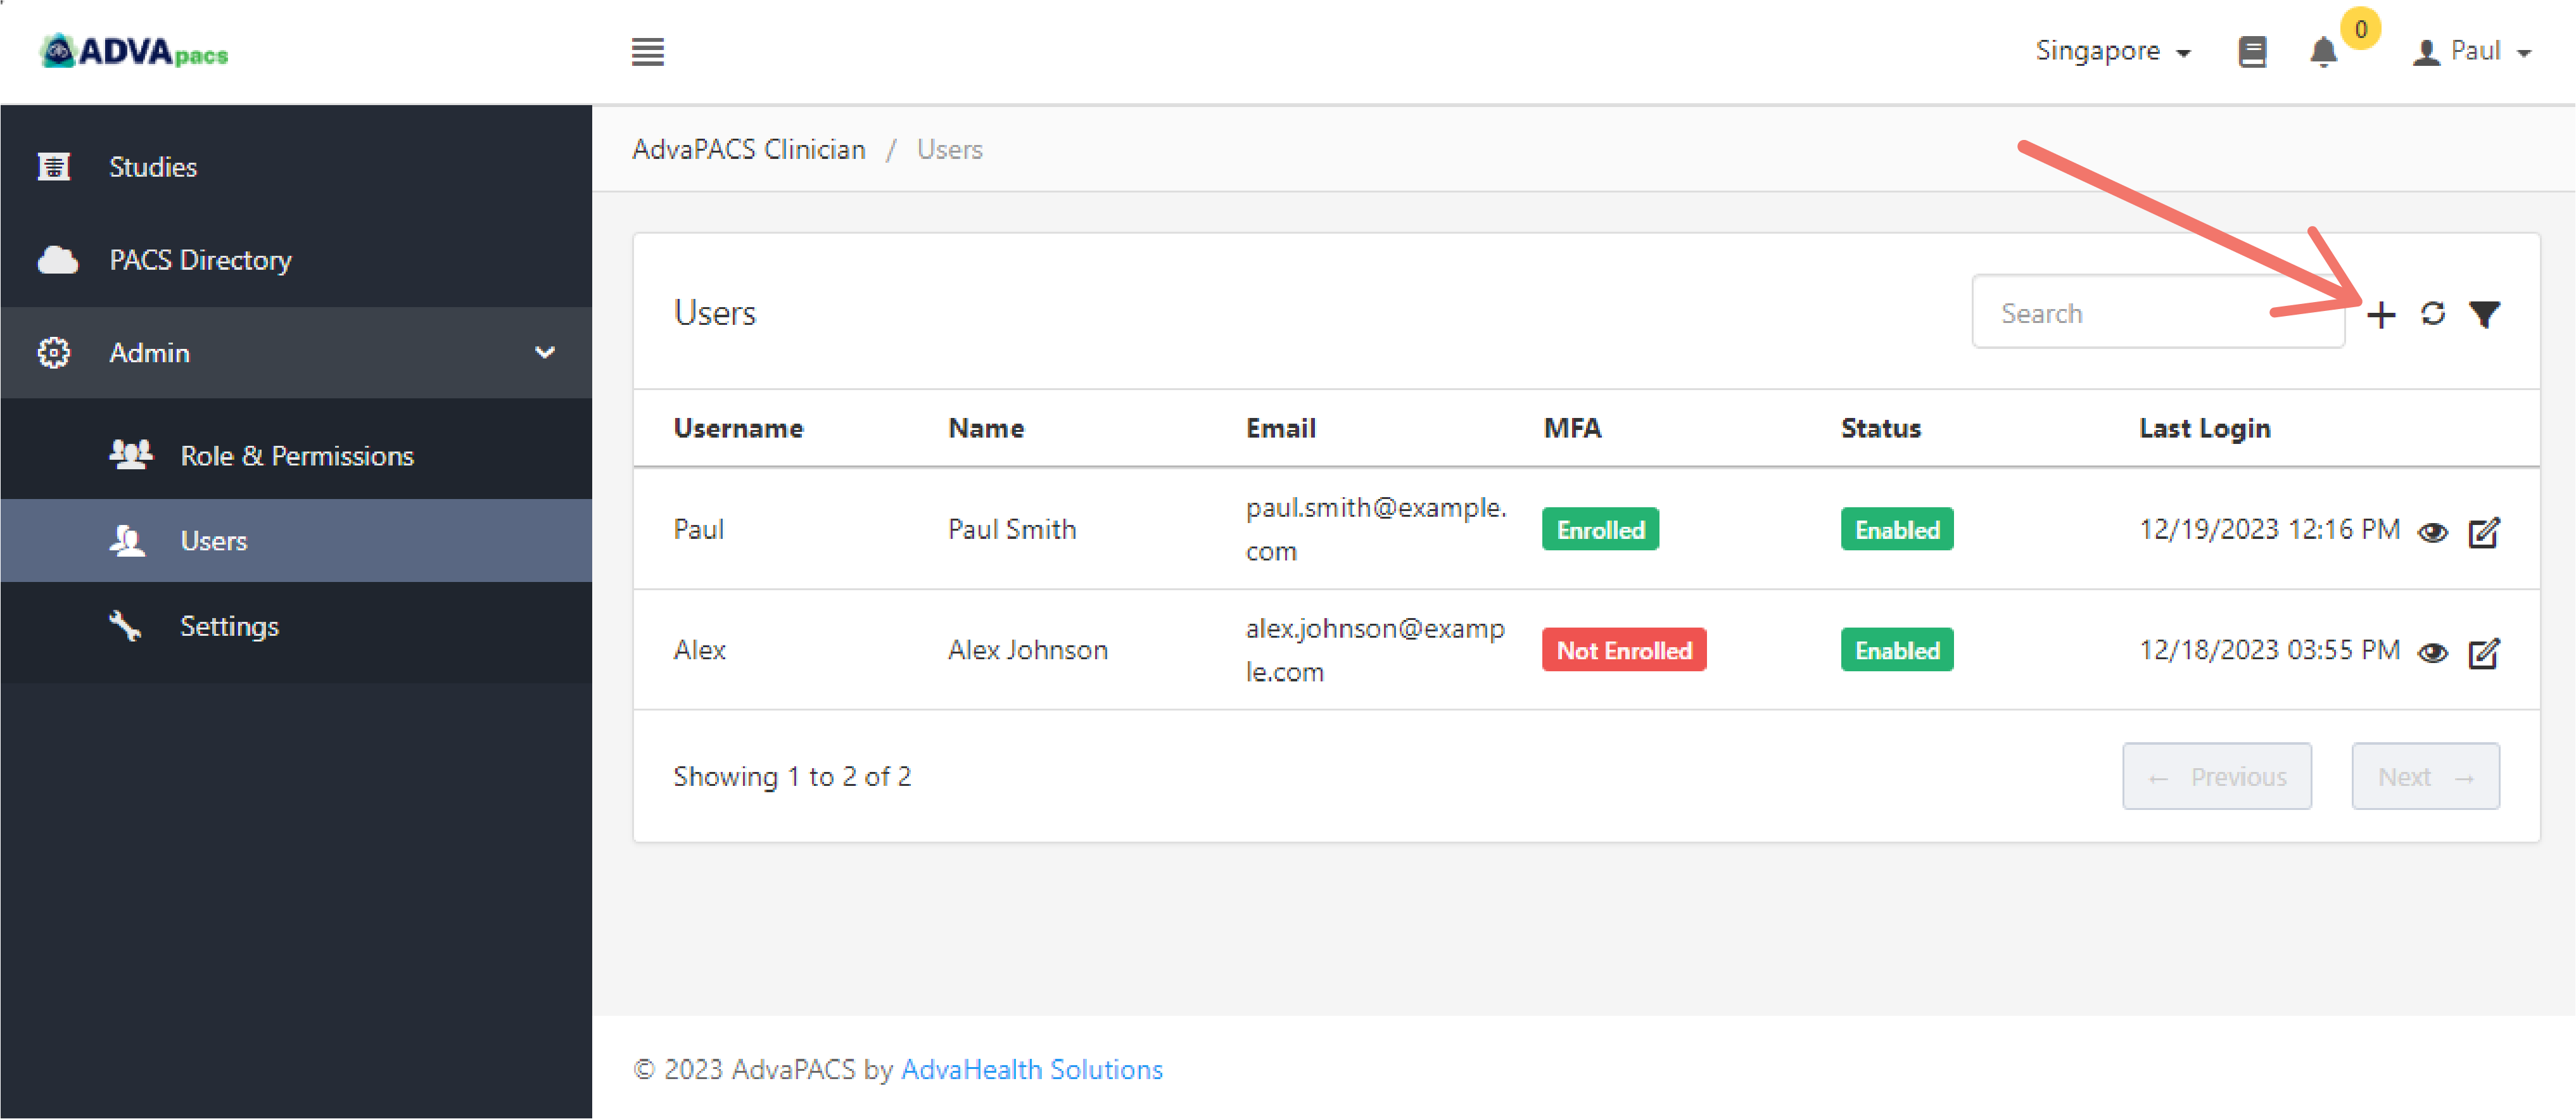
Creating a User
To create a new user follow these steps:
Click the "plus" icon to create a new role.
Fill in the details for the new user.
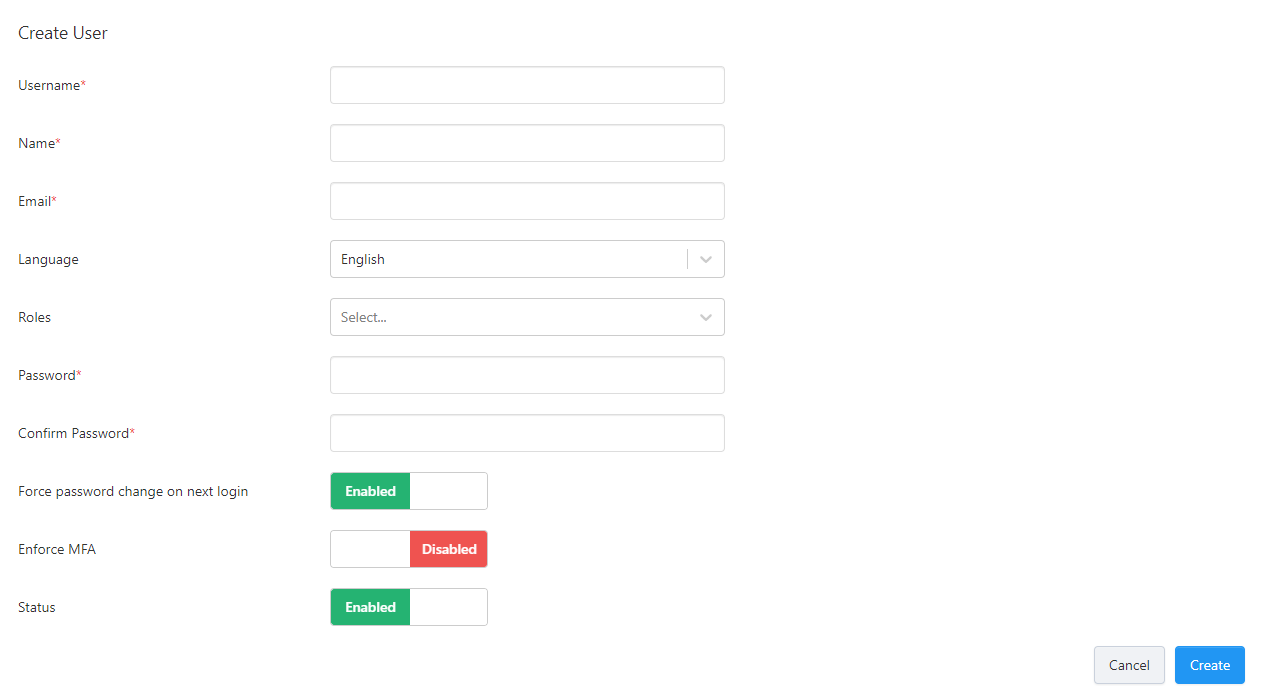
- Username - enter a username used to log in to the user's account
- Name - enter the user's name
- Email - enter the user's email address
- Language - enter the user's preferred language in the Clinician Portal
- Roles - select one or multiple roles
- Password - enter a password
- Confirm Password - confirm password for accuracy
- Force password change on next login - when enabled, the user is forced to update their password on their next login
- Enforce MFA - enforces Multi-factor Authentication for the user
- Status - enables or disables the user's account
Editing a User
To edit an existing user's account, click the "edit" button on the user you want to update.
This will route you to the Update User page. Which has two tabs:
User
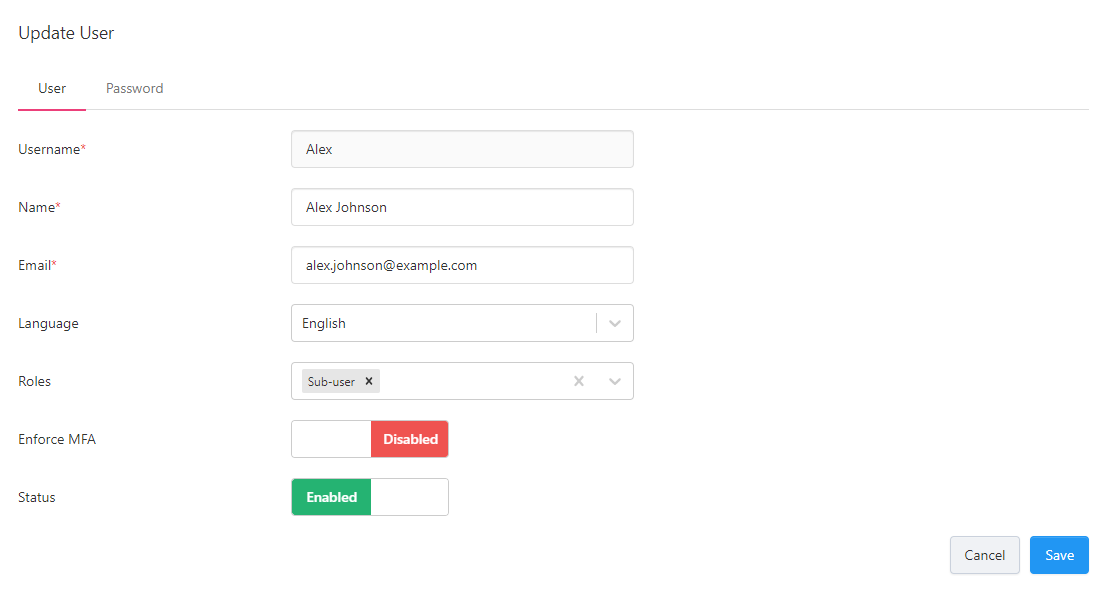
- Username - used to log in to the user's account
- Name - user's name
- Email - user's email address
- Language - user's preferred language in the Clinician Portal
- Roles - select one or multiple roles
- Enforce MFA - enforces Multi-factor Authentication for the user
- Status - enables or disables
Password

Here you can update and reset a user's password.
- Password - enter a password
- Confirm Password - confirm password for accuracy
- Force password change on next login - when enabled, the user is forced to update their password on their next login
Settings
The Settings page contains administrative and security configurations.
General
In the General settings, you can modify how the date and time is formatted in studies listed in the Studies page.
Security
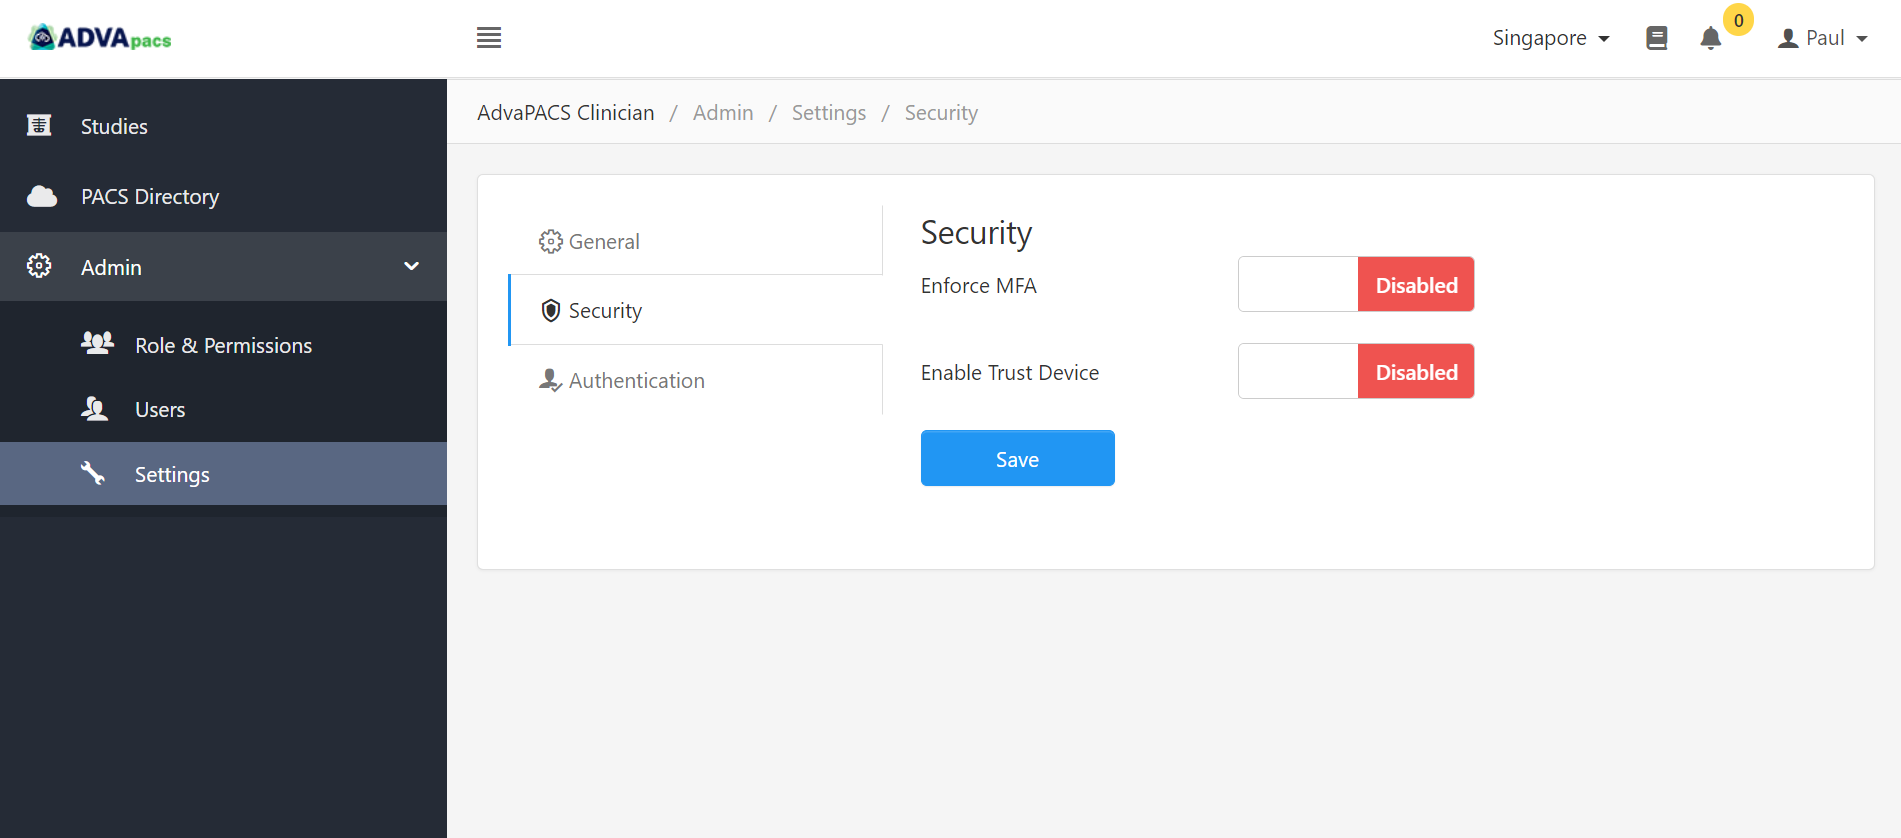
Security settings contains the following options:
- Enforce MFA - this enforces Multi-factor Authentication for all users
- Enable Trust Device - allows users to view and manage Trusted Devices in the User Settings
These options are applied to all users in the Organisation account.
Authentication
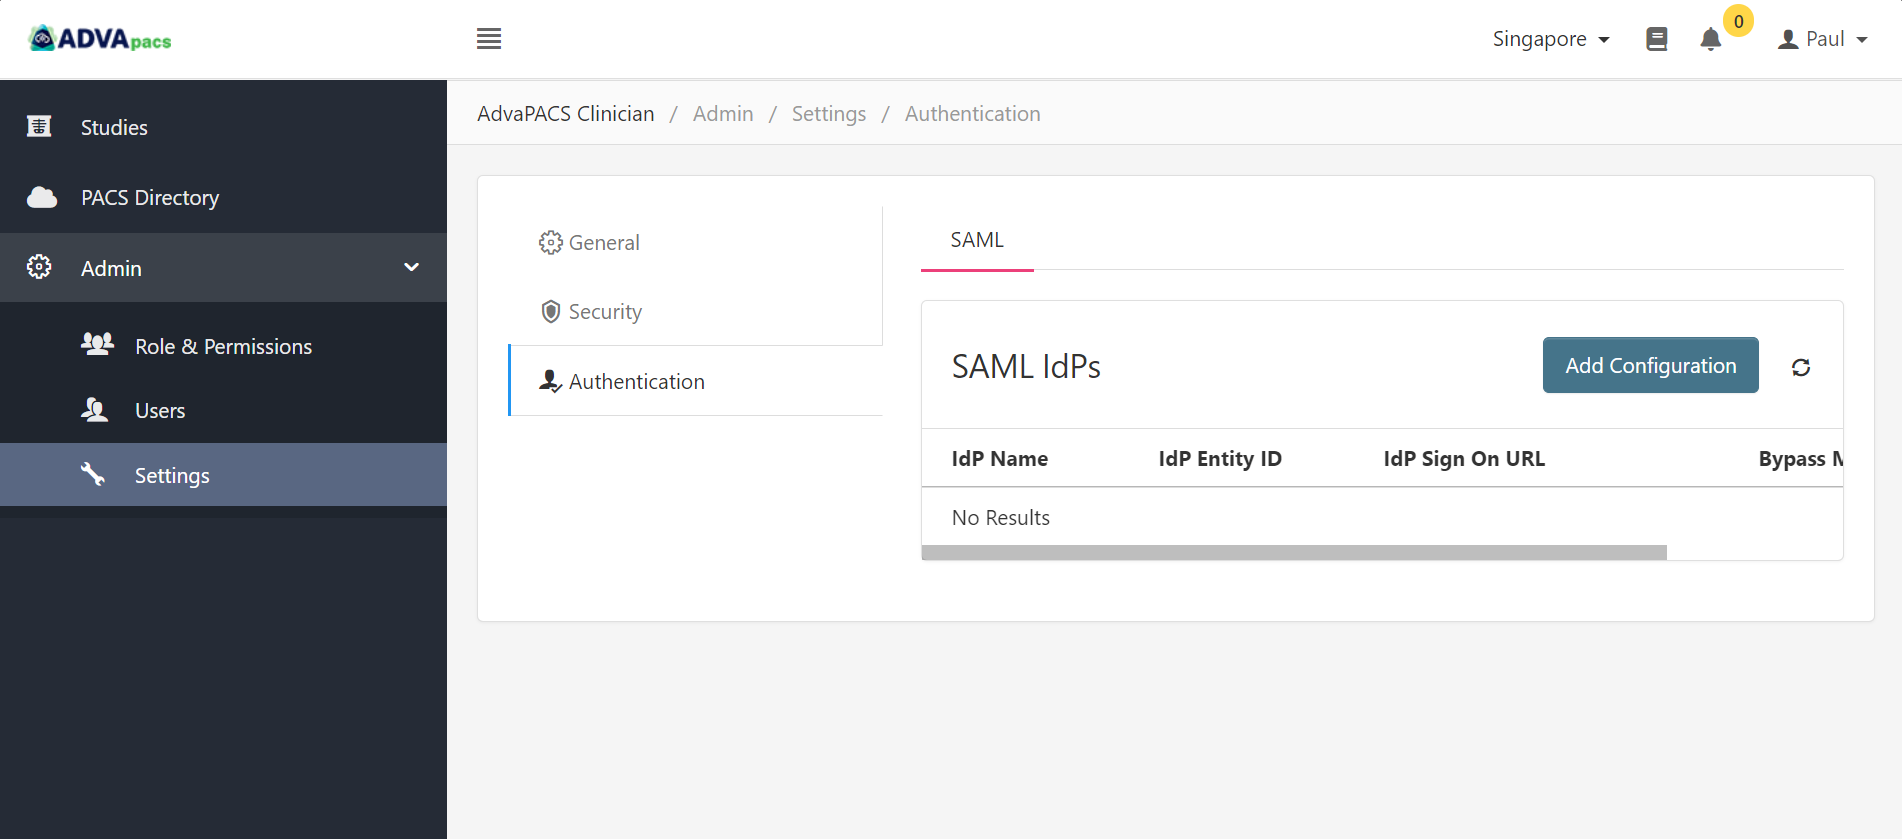
Authentication settings contains an option for enabling SAML authentication.
SAML (Security Assertion Markup Language) SSO (Single Sign-On) eliminates the need for users to log in separately to each application, like AdvaPACS. Once a user logs in to one service (through the IdP), they can access other connected services without re-entering their credentials.
If you are unsure on how to set up SAML, please contact your IT department for guidance and assistance. They can provide you with the necessary instructions and support to ensure a smooth and secure implementation of SAML for your specific use case.